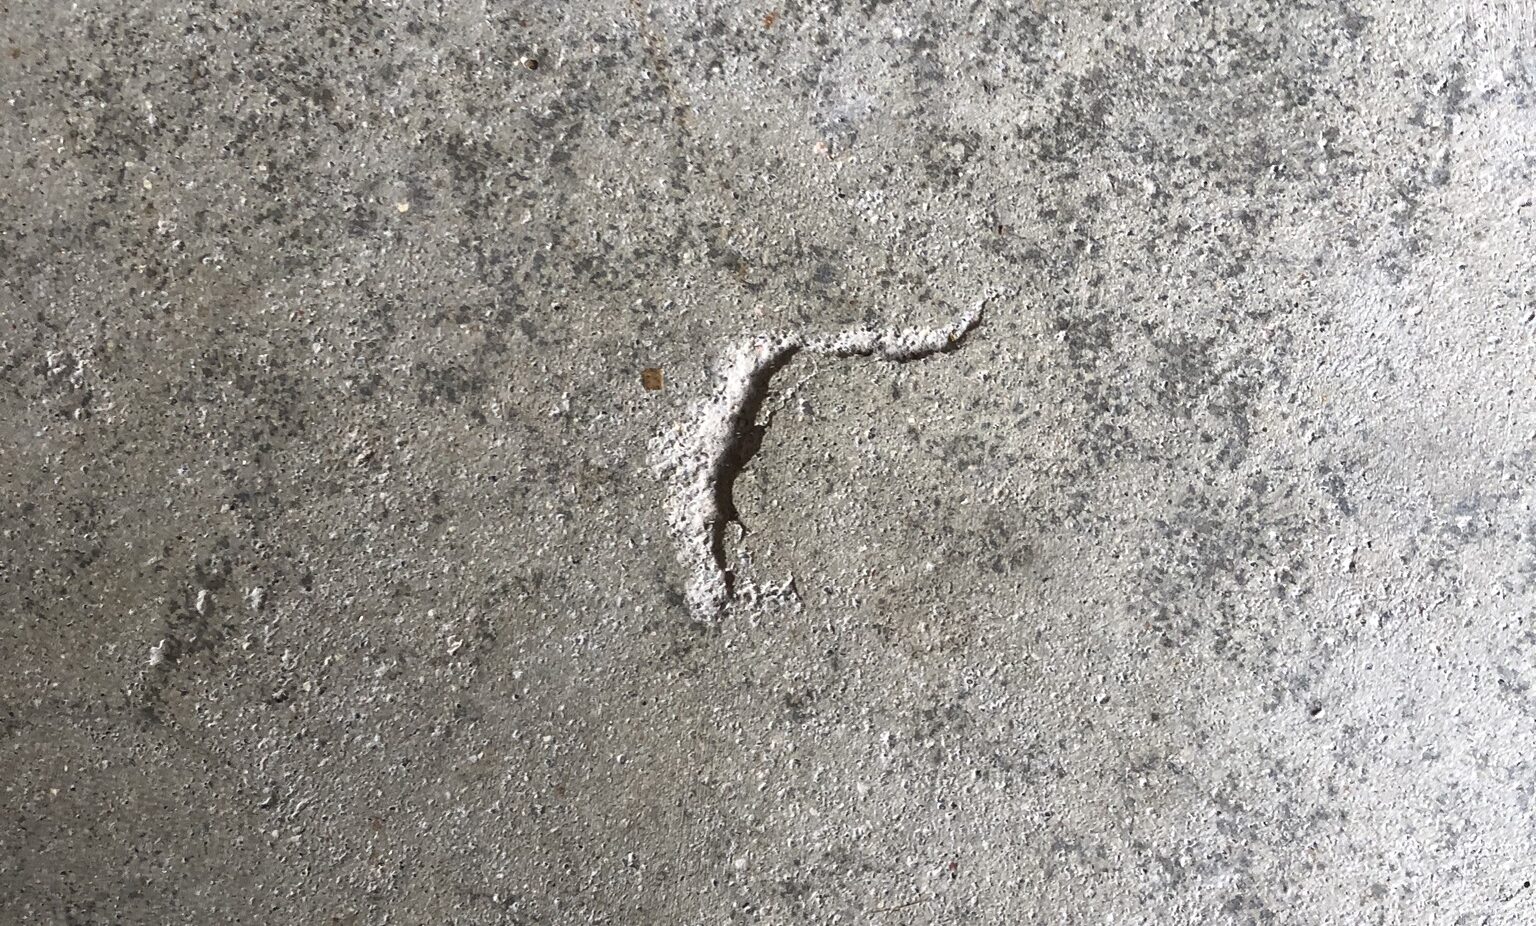
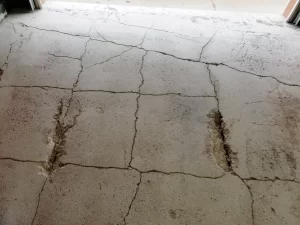
You may think that coating a concrete floor is as easy as painting a wall. In truth, there is more happening within your concrete floor than you might think. You may have chips, cracks, corrosion, or even hollow spaces in your concrete and not even know. Concrete is a porous material that is constantly undergoing a chemical change as it cures. Though it cures fast enough to walk on within 24-48 hours, concrete retains and expels moisture constantly as it continues to harden over many years. That’s right, concrete continues to harden even years after its initial curing!
Combine constant changes in moisture with the natural shifting of land beneath your slab, and you’re sure to see damage eventually. Small cracks, even hairline cracks, can indicate larger underlying problems. Corrosion of rebar can cause cavities that collect moisture which expands and contracts as temperatures change and eventually causes large pieces of concrete to break apart. Salt from your vehicles dropping winter snow where you park can cause significant wear as well, eventually leading to unsightly pits in your floor. All of these issues should be addressed and repaired before installing your protective epoxy or poly flake floor coating.
Since your concrete floor is literally the foundation on which your protective epoxy coating will be built, repair and preparation are the most important steps when installing a protective floor coating. This all starts with a proper inspection. Your Paveman Coatings installation team will conduct a number of tests, as well as a visual inspection of your space to ensure the best possible conditions for your installation. Your team will check the moisture levels within the concrete and look for signs of damage that may otherwise have gone unnoticed as well.
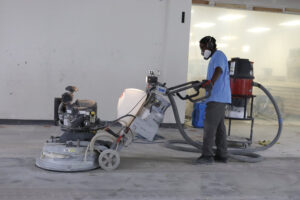
Once underlying damage has been assessed and remedied, your Paveman Coatings installation team will begin preparing your floor for coating. This will include grinding or “shot blasting” your floor to ensure proper adhesion. Depending on the condition of your concrete, your installation team may choose to employ a diamond grinder, which is a large rotary machine that looks like a floor buffer on steroids. The diamond grinder can be fitted with a number of different bits to provide a wide array of surface textures depending on the need. A Shot Blaster is a more compact machine that uses steel shot in lieu of a solid diamond bit. Steel shot (small steel balls of varying size) is loaded into the shot blaster, and projected down on the floor repeatedly to chip away at the surface of the concrete.
When preparing your floor, your Paveman Coatings installation team will take great care in controlling the associated dust. Silica dust generated from grinding concrete is not only messy, but can be harmful if inhaled. Our installation teams take pride in their cleanliness. Your home will be partitioned off from the project area with plastic sheeting to minimize dust contamination. While your team is at work, they will be running clean air exchangers with hepa filtration systems, as well as wearing respirators as personal protection within the project area. Your comfort and safety, as well as the safety of your installation team, is our top priority.
This is just a brief overview of the work involved in preparing your floor for an attractive epoxy or poly flake coating from Paveman. In future blogs and videos, we will delve deeper into how we conduct our repairs and the finer details of concrete coatings. Be sure to visit our website frequently and keep up with us on social media to see what’s new in the industry!


